
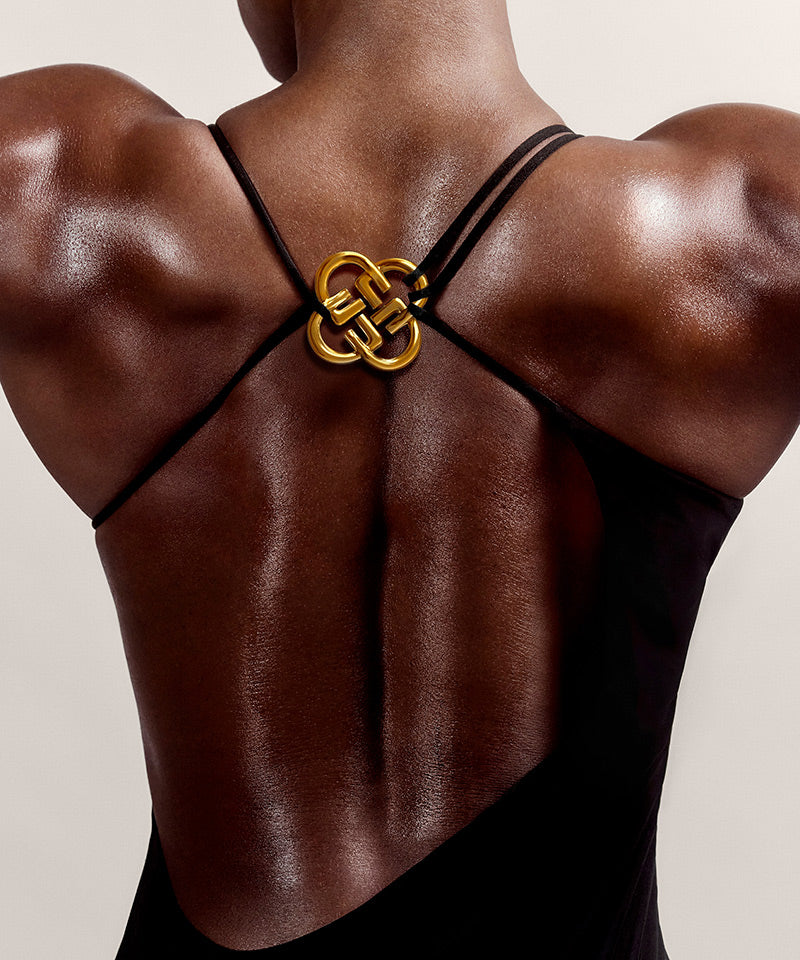
THE CURVUSCULAR™ WORKOUT: DAY 1

Death to Stock
By Dany Garcia
LOWER ABDOMINALS: BUILD THE CURVE
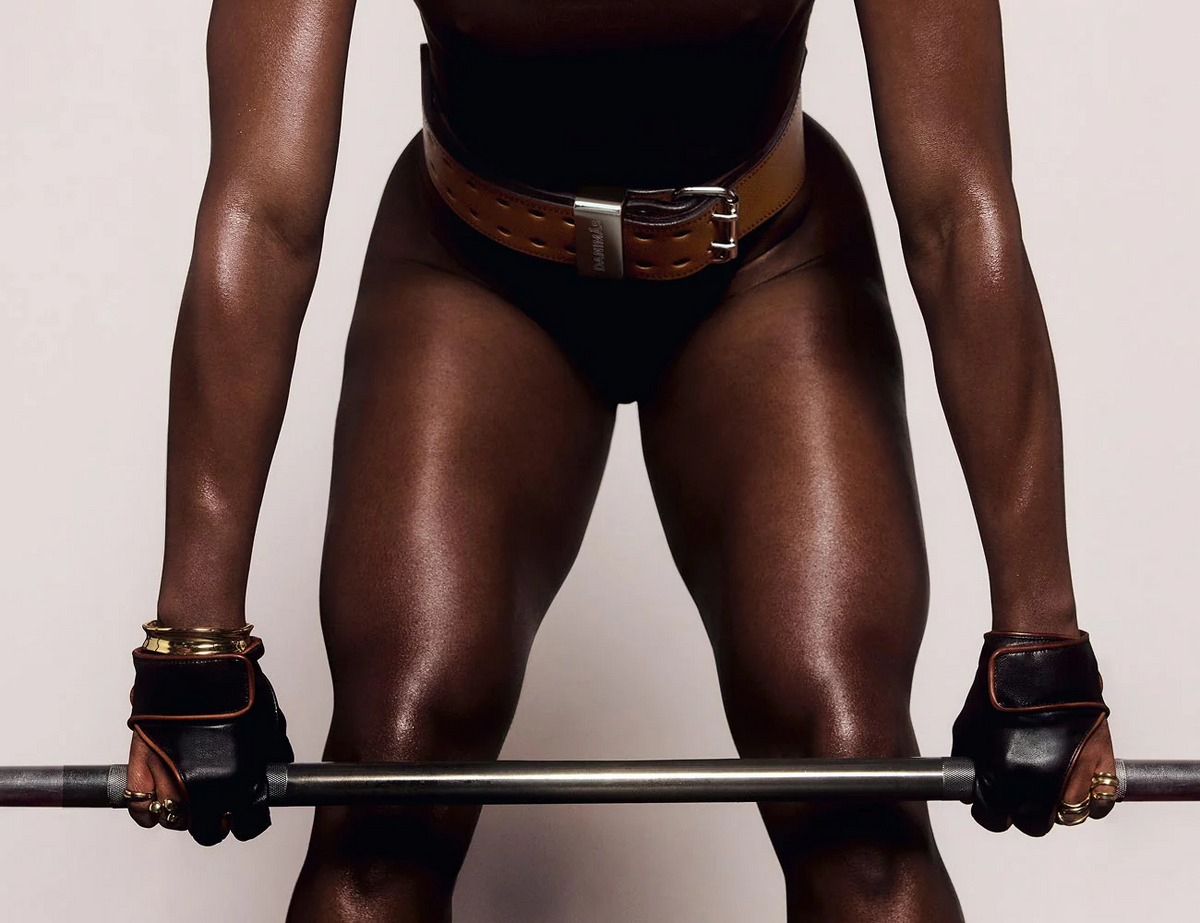
The aim is physique intention: develop glute shape, lower-body strength and quad architecture. This is the shape that changes how a room reads you before you cross it.
CHOOSE YOUR INTENSITY
-
FOUNDATION: greater stability, simpler execution and an opportunity to learn or return to the movement.
-
BUILD: the standard Curvuscular™ 01 option for someone comfortable with resistance training.
-
POWER: a progression for experienced lifters who already possess the technique and strength required for greater loading or complexity.
Pushing harder is not better here; executing the moves properly is what gets results.
Step 1: Align
1. Wall Breathing: 5 slow breaths
Training cues: Feel ribs stacked over pelvis. Exhale fully without aggressively sucking in. Inhale into sides and back. Keep your neck and shoulders relaxed.
2. Bodyweight Squat to Reach: 8x
Training cues: Whole-foot pressure. Knees track with toes. Sit between the hips. Drive the floor away to stand
3. Glute Bridge: 10x
Training cues: Ribs controlled. Push through feet. Finish with glutes, not lumbar extension. Brief squeeze at top
Step 2: Connect your core
1. Dead Bug: 2x 6–10 reps per side
Training cues: Exhale and stack ribs over pelvis. Brace before moving. Keep the trunk quiet. Only extend as far as position allows
The why: Establish anti-extension control before lower-body loading
2. Pallof Press: 2x 8-12 reps per side
Training cues: Stand tall. Brace before pressing. Do not allow torso rotation. Return slowly
The why: Teach the trunk to resist rotation
Step 3: Strengthen
This section of the workout utilizes a squat pattern of 2–3 × 8–12 reps. Choose one dependent on your workout intensity.
1. Box Squat/Sit-to-Stand: 2–3 × 8–12 reps (FOUNDATION)
OR: Goblet Squat: 2–3 × 8–12 reps (BUILD)
OR: Hack Squat, Belt Squat or loaded squat variation: 2-3x 8-12 reps (POWER)
Training cues: Brace before descending. Maintain whole-foot pressure. Let knees travel naturally over toes. Control down; drive floor away.
The why: Quads provide lower-body architecture while glutes contribute strength and shape
2. Floor Glute Bridge: 2–3× 10–12 reps (FOUNDATION)
OR: Machine or Bench Hip Thrust: 2–3× 10–12 reps (BUILD)
OR: Heavily Loaded Hip Thrust: 2-3x 10-12 reps (POWER)
Training cues: Ribs stacked. Drive through feet. Full hip extension without back arch. Slightly drive knees outward. Pause and contract glutes
The why: Develop glute max for strength, projection and posterior shape
3. Supported Split Squat: 2–3× 8–10 reps per side (FOUNDATION)
OR: Reverse Lunge: 2–3× 8–10 reps per side (BUILD)
OR: Loaded Split Squat or Reverse Lunge: 2–3× 8–10 reps per side (POWER)
Training cues: Use support if it improves execution. Front foot firmly planted. Lower under control. Drive through the working leg
The why: Build unilateral leg and glute strength, stability and symmetry
4. Leg Extension: 2–3× 10–15 reps
Training cues: Align machine comfortably with knee. Lift with control. Contract quads at top. Slow negative
The why: Direct quad work adds contour to the front of the thigh
5. Hip Abduction: 2–3× 12–15 reps
Training cues: Pelvis stable. Move from hip, not torso. Control both directions. Pause in an open position
The why: Develop lateral glute musculature for hip shape and pelvic stability
EFFORT + PROGRESSION
For most working sets, choose a resistance that leaves approximately 2–3x good reps in reserve. Own the movement before you increase the load.
Week 1. LEARN: 2 working sets. Establish your technique and appropriate resistance.
Week 2. ADD: 2–3 working sets. Add repetitions while maintaining 2–3x reps in reserve.
Week 3. PROGRESS: 3 sets on primary movements; 2–3x on accessories. Increase load when you own the top of the rep range.
Week 4. OWN IT: improve load, repetitions, range, control or execution. Do not add volume simply for the sake of doing more.
TRAINING NOTE
Exercise is individual. If you are new to resistance training or have pain, injury, balance limitations, pregnancy or postpartum considerations, osteoporosis, cardiovascular conditions or other medical circumstances that may affect exercise, seek appropriate guidance from a qualified healthcare or fitness professional. Stop any exercise that causes pain, dizziness or other concerning symptoms. This article is for informational purposes only—even if it includes insights from medical professionals, fitness experts, nutrition specialists, or other wellness advisors. It is not a substitute for medical advice, diagnosis, or treatment. Always consult a licensed healthcare provider before making any changes to your diet, exercise routine, supplement or medication regimen, or lifestyle habits. We make no guarantees about the effectiveness or safety of the strategies, products, or services mentioned. Never disregard professional medical advice or delay seeking it because of something you have read in this article. Your reliance on any information provided by Danimás is solely at your own risk. In no event will Danimás be liable for any loss or damage including, without limitation, indirect or consequential loss or damage, or any loss or damage whatsoever, arising from the use of or reliance on any information provided in this article.


